Description
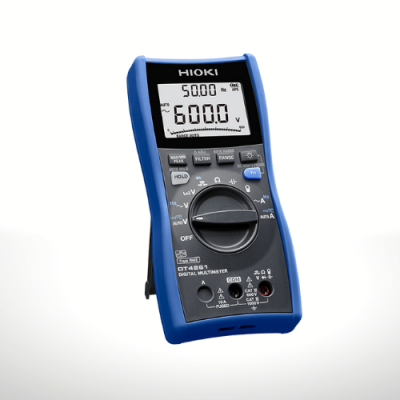
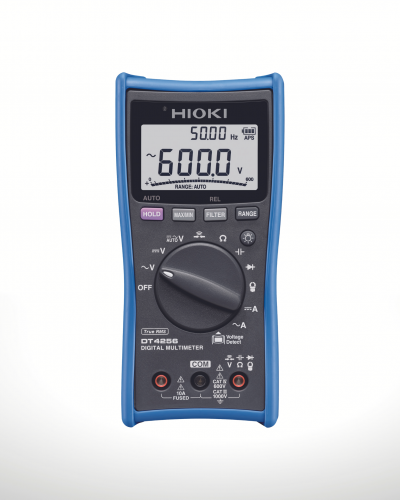
The Hioki DT4200 Digital Multimeter Series consist of a complete lineup of 9 models ranging from professional to industrial to pocket types.
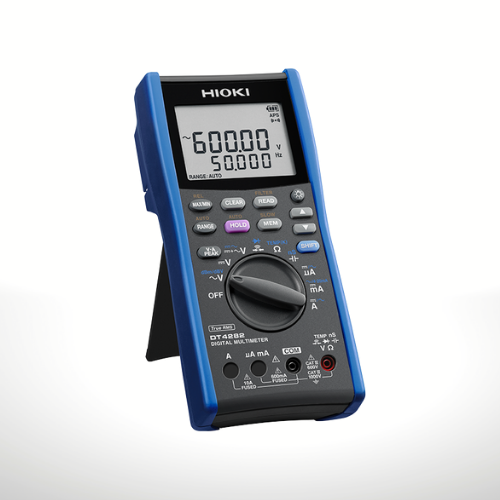
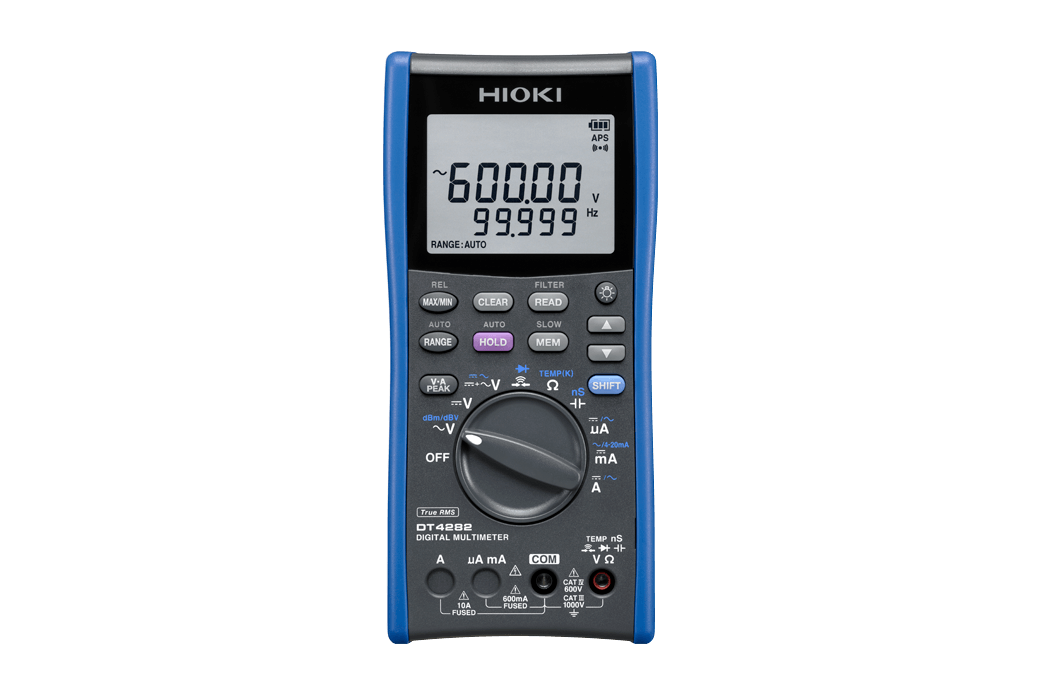
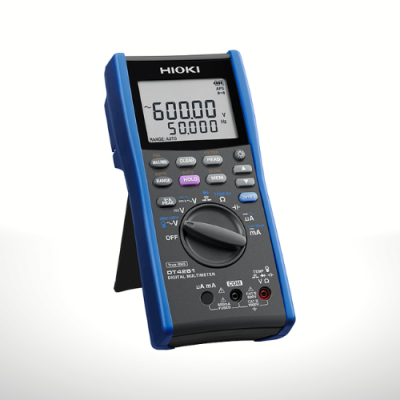
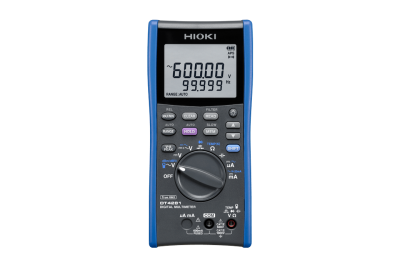
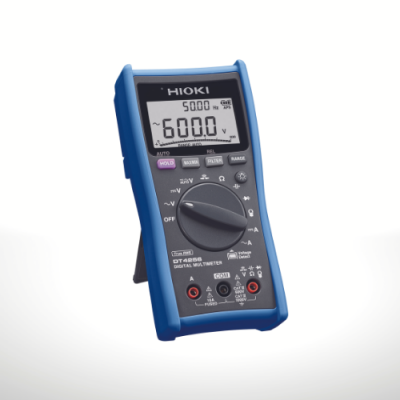
The DT4282 is a high-precision 60,000 count digital multimeter with direct 10A input and all of the functions and features required for advanced testing in laboratories and R&D.
CAT IV 600 V, CAT III 1000 V
The ultimate digital multimeter, ideal for use R&D applications
The DT4282, which is part of Hioki’s DT4280 series of high-end digital multimeters, is designed for use in laboratories and R&D applications where you wish to measure a wide variety of parameters.
– DC current 600.00 μA / 6000.0 μA / 60.000 mA / 600.00 mA /6.0000 A / 10.000 A
– AC current 600.00 μA / 6000.0 μA / 60.000 mA / 600.00 mA /6.0000 A / 10.000A
– Conductance 600.00 nS
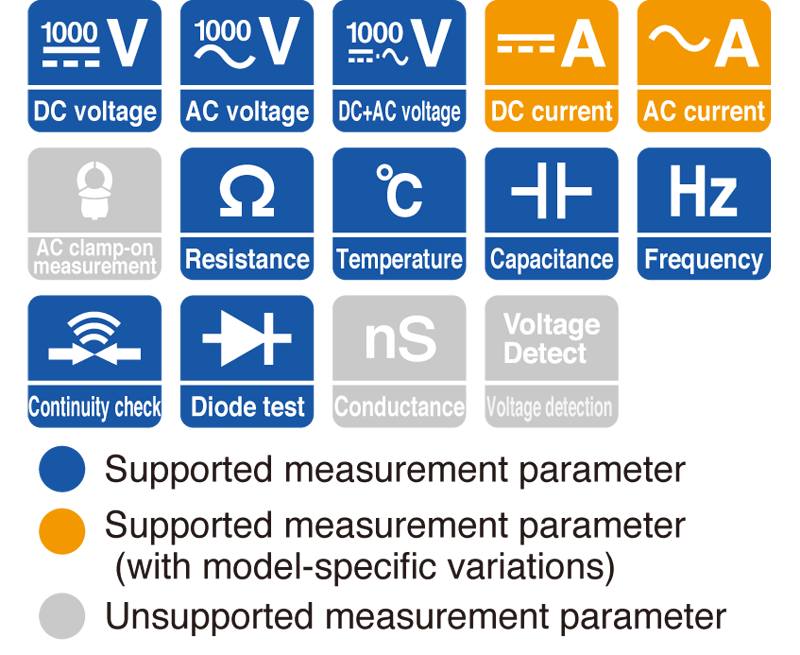
Safe measurement requires use of an instrument that suits the measurement location.
To ensure operators’ ability to use measuring instruments safely, IEC 61010 classifies the locations in which instruments are used into a series of safety-based measurement categories (ranging from CAT II to CAT IV). Using an instrument that does not satisfy the required safety level can lead to an electrical accident.
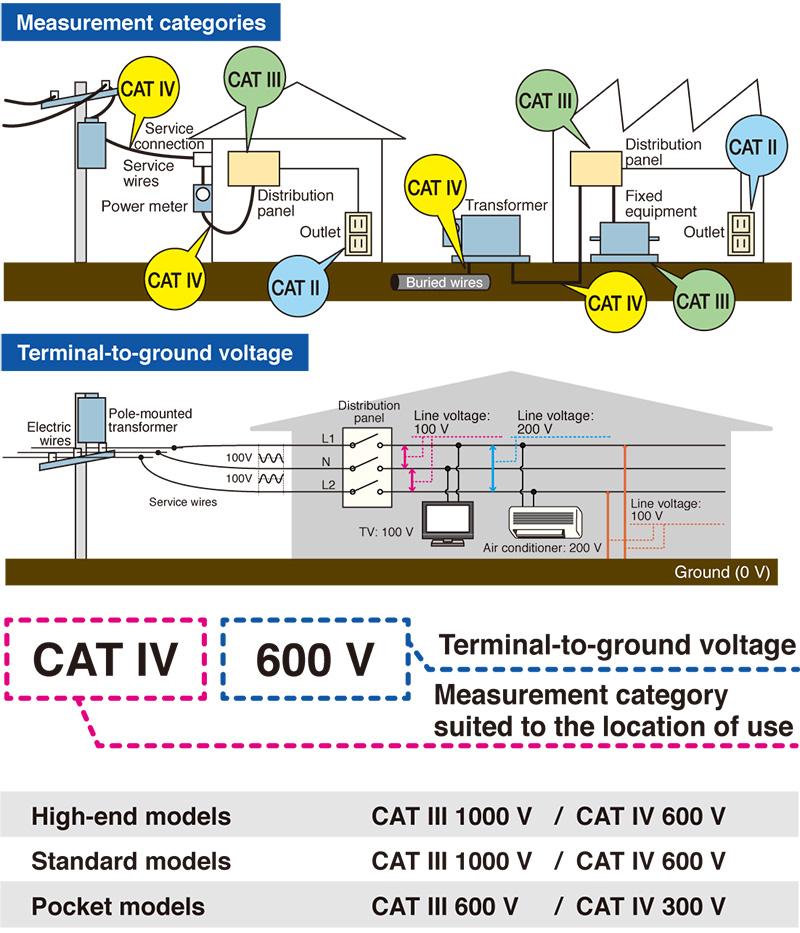
Measurement data can be downloaded to, reviewed on, and saved to a computer.
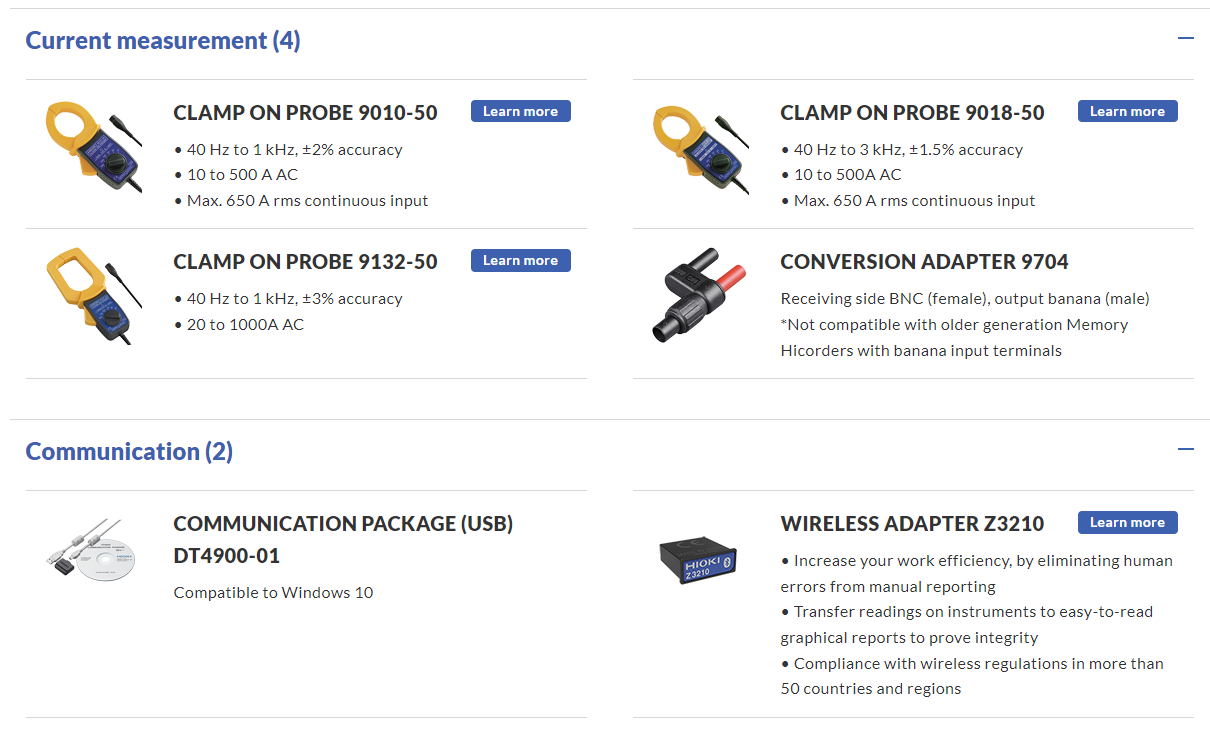
If you connect the DT4282 to a computer with the optional Communication Package DT4900-01, you can graph data stored in the instrument’s internal memory and display measurement results in real time on the computer. In addition, displayed measured values can be saved (in text format).
*Use of optical communications keeps the computer and instrument electrically isolated to ensure safety.
*The computer and multimeter are electrically isolated by means of optical communications so that data can be sent without concern for electrical hazards.
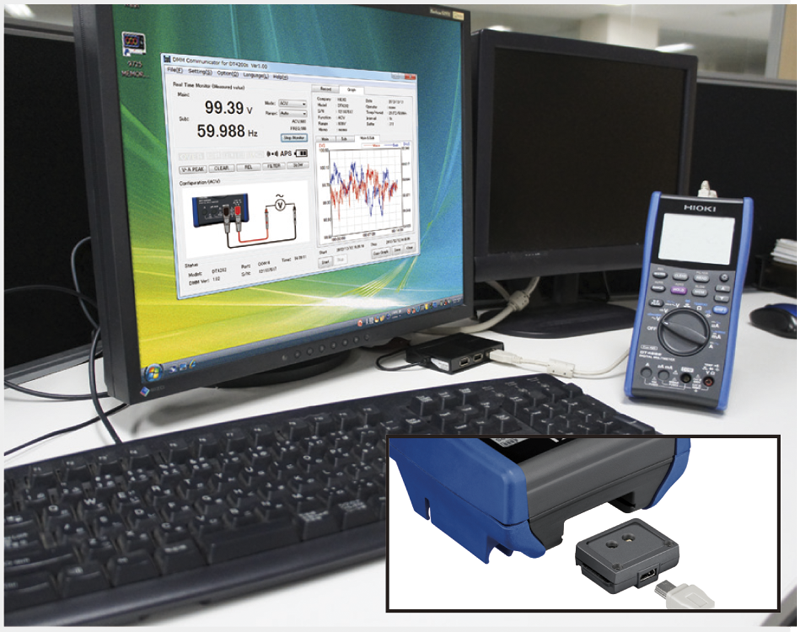
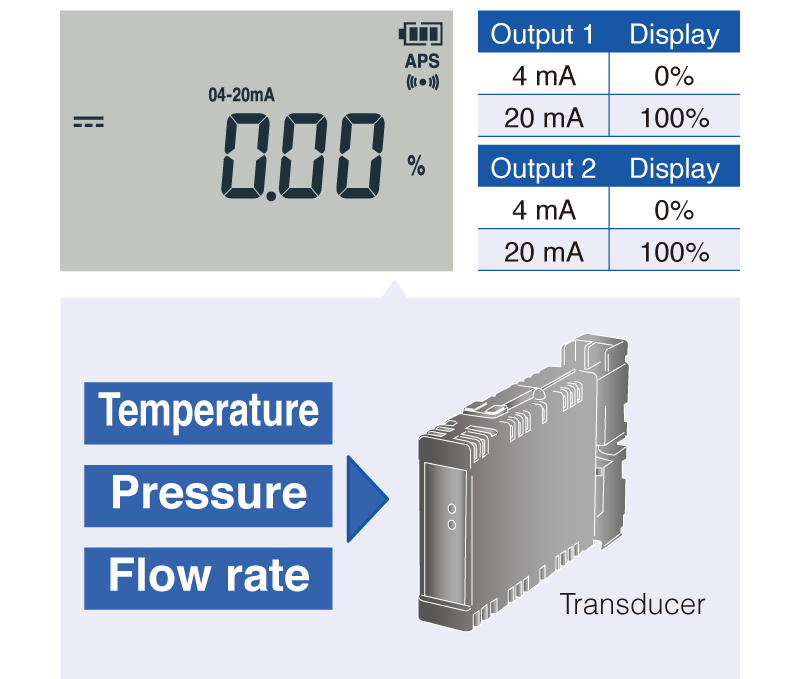
Percentage display for 4 to 20 mA instrumentation signals
The digital multimeter can convert and display instrumentation signals of 4 to 20 mA or 0 to 20 mA representing properties such as temperature, pressure, and flow rate from a transducer or other device that converts sensor data into an electrical signal.
Basic Specifications
Regarding DMM Accuracy: Due to the many ranges and functions available in a DMM, only the basic accuracy is indicated for reference. Please refer to the brochure for detailed accuracy information.
| DC Voltage range | 60.000 mV to 1000.0 V, 6 ranges, Basic accuracy: ±0.025 % rdg. ±2 dgt. | |||||
|---|---|---|---|---|---|---|
| AC Voltage* range | 60.000 mV to 1000.0 V, 6 ranges, Frequency characteristics: 20 Hz – 100 kHz Basic accuracy 45 – 65 Hz : ±0.2 % rdg. ±25 dgt. (True RMS, crest factor 3) |
|||||
| DC + AC Voltage* range | 6.0000 V to 1000.0 V, 4 ranges, Frequency characteristics: 20 Hz – 100 kHz Basic accuracy 45 – 65 Hz : ±0.3 % rdg. ±30 dgt. (True RMS, crest factor 3) |
|||||
| Resistance range | 60.000 Ω to 600.0 MΩ, 8 ranges, (Conductance: 600.00 nS, DT4282 only) Basic accuracy: ±0.03 % rdg. ±2 dgt. |
|||||
| DC Current range | 600.00 μA to 10.000 A, 6 ranges, Basic accuracy: ±0.05 % rdg. ±5 dgt. | |||||
| AC Current* range | 600.00 μA to 10.000 A, 6 ranges, Basic accuracy 45 – 65 Hz : ±0.6 % rdg. ±5 dgt. (True RMS, crest factor 3) Frequency characteristics: 20 Hz – 20 kHz (at 600 μA to 600 mA range) |
|||||
| AC Current* range (use with Clamp on probes) |
N/A | |||||
| Peak | DC V measurement: Signal width 4 msec or more (single), 1 msec or more (repeated) AC V, DC/AC A measurement: Signal width 1 msec or more (single), 250 μsec or more (repeated) |
|||||
| Capacitance range | 1.000 nF to 100.0 mF, 9 ranges, Basic accuracy: ±1.0 % rdg. ±5 dgt. | |||||
| Continuity Check | Continuity threshold: 20/50/100/500 Ω, Response time: 10 ms or more | |||||
| Diode test | Open terminal voltage: 4.5 V or less, Testing current 1.2 mA or less, Threshold of forward voltage: 0.15 V to 3 V, seven stages | |||||
| Frequency range | AC V, DC+AC V, AC A measurement, at pulse width 1 μs or more (50 % duty ratio) 99.999 Hz (0.5 Hz or more) to 500.00 kHz, 5 ranges, ±0.005 % rdg. ±3 dgt. |
|||||
| dB conversion | Standard impedance setting (dBm), 4 Ω to 1200 Ω, 20 stages Display dB conversion value of AC voltage (dBV) |
|||||
| Temperature (thermocouples) |
K: -40.0 °C to 800.0 °C (-40.0 °F to 1472.0 °F) Add accuracy of the Thermocouple probe to main unit accuracy: ±0.5 % rdg. ±3 °C |
|||||
| Other functions | Filter function (remove harmonic noise, use only at 600 V AC, 1000 V AC ranges), display value hold, auto hold, MAX/MIN value display, PEAK value display, relative value display, sampling setting, internal memory (400 data), auto-power save, USB communication (option), mis-insertion prevention shutters, decibel conversion, 4-20 mA percentage conversion | |||||
| Display | Main and Sub displays: 5-digits LCD, max. 60000 digits | |||||
| Display refresh rates | 5 times/s (Capacitance measurement: 0.05 to 2 times/s, depending on measured value, Temperature: 1 time/s ) | |||||
| Power supply | LR6 (AA) alkaline batteries ×4, Continuous use: 100 hours | |||||
| Dimensions and mass | 93 mm (3.66 in) W × 197 mm (7.76 in) H× 53 mm (2.09 in) D, 650 g (22.9 oz) (with test leads holder and batteries) | |||||
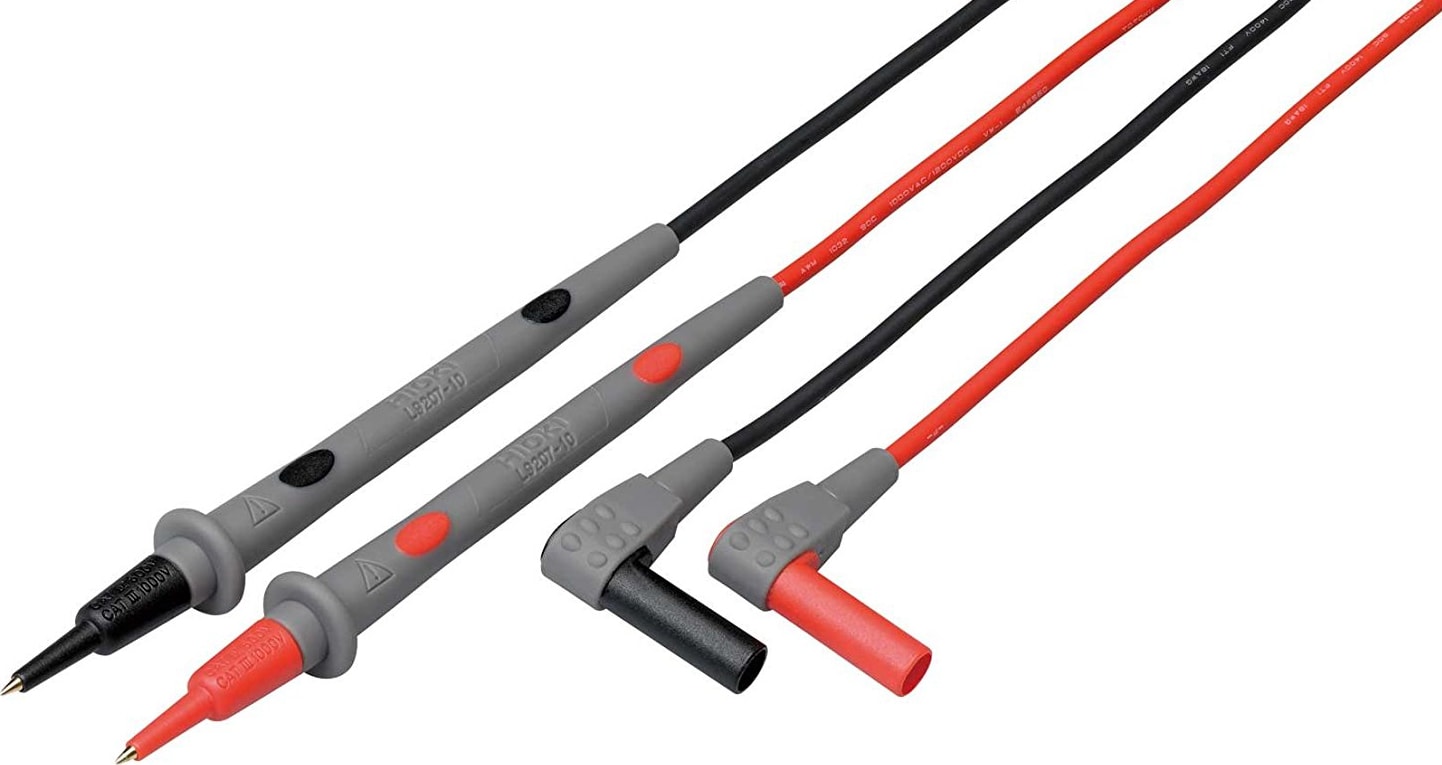
| Accessories | Test Lead L9207-10 ×1, Instruction Manual ×1, LR6 Alkaline Battery ×4 | |||||
- *Zero-suppression: For small inputs below the guarantee range, zero is effectively displayed.


